Short answer: a printer drum, also called an imaging drum or OPC drum, is a cylinder with a light-sensitive coating. The printer charges it, a laser or LED draws the page on it as an electrical image, toner sticks to that image, and the drum rolls the toner onto the paper. The drum wears with use, so it is a consumable part: either inside the toner cartridge or as a separate drum unit that lasts through several toner cartridges.
What is a printer drum?
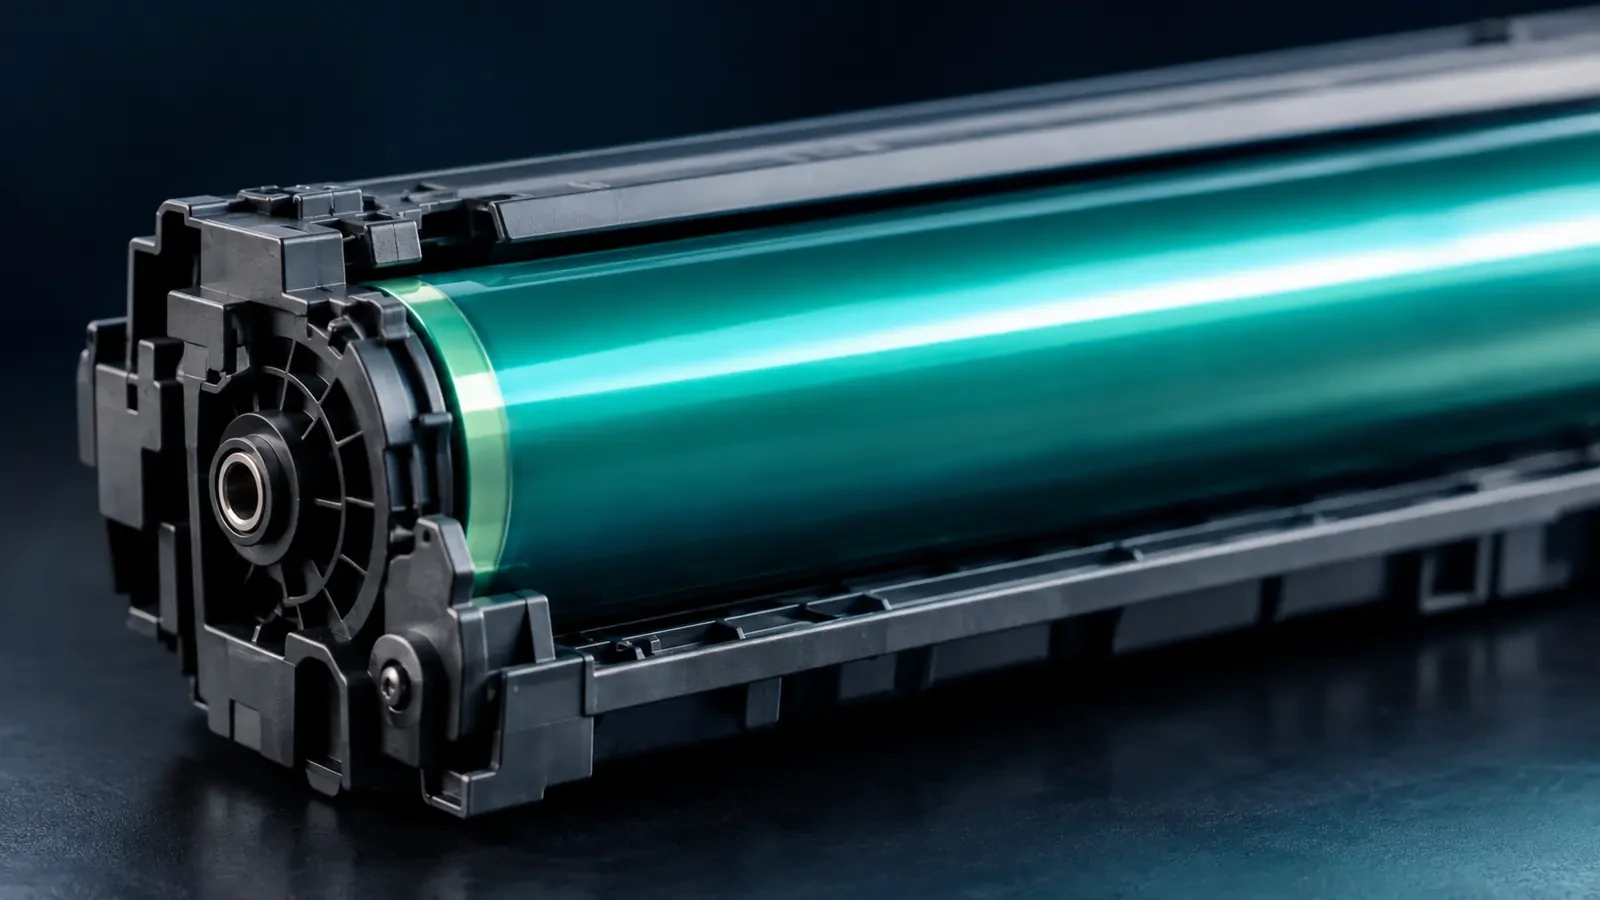
Inside every laser printer and most office copiers there is a drum: usually a thin aluminum tube coated with an organic photoconductor (OPC), which is why it is often green or blue. The coating behaves like an insulator in the dark and conducts when light hits it. That simple property is what lets the printer “draw” a page with light and then develop it with toner.
You will see the drum called by several names: drum, imaging drum, OPC drum, photoconductor, drum unit, drum cartridge or imaging unit. In color printers there is typically one drum per color, or a single drum combined with a transfer belt.
How the OPC drum works in laser printing
Each page goes through the same cycle, and the drum takes part in almost every stage of it:
- Charge. A charge roller (or a corona wire in some designs) gives the whole drum surface an even electrical charge.
- Expose. The laser or LED array switches on where the page should print. Light discharges those areas, leaving an invisible electrical image.
- Develop. The developer roller brings charged toner close to the drum. Toner jumps only to the discharged image areas.
- Transfer. A transfer roller or belt with the opposite charge pulls the toner off the drum onto the paper.
- Fuse. The fuser melts the toner into the paper. The drum is not involved here.
- Clean. A cleaning blade wipes leftover toner from the drum into the waste area, and the cycle starts again.
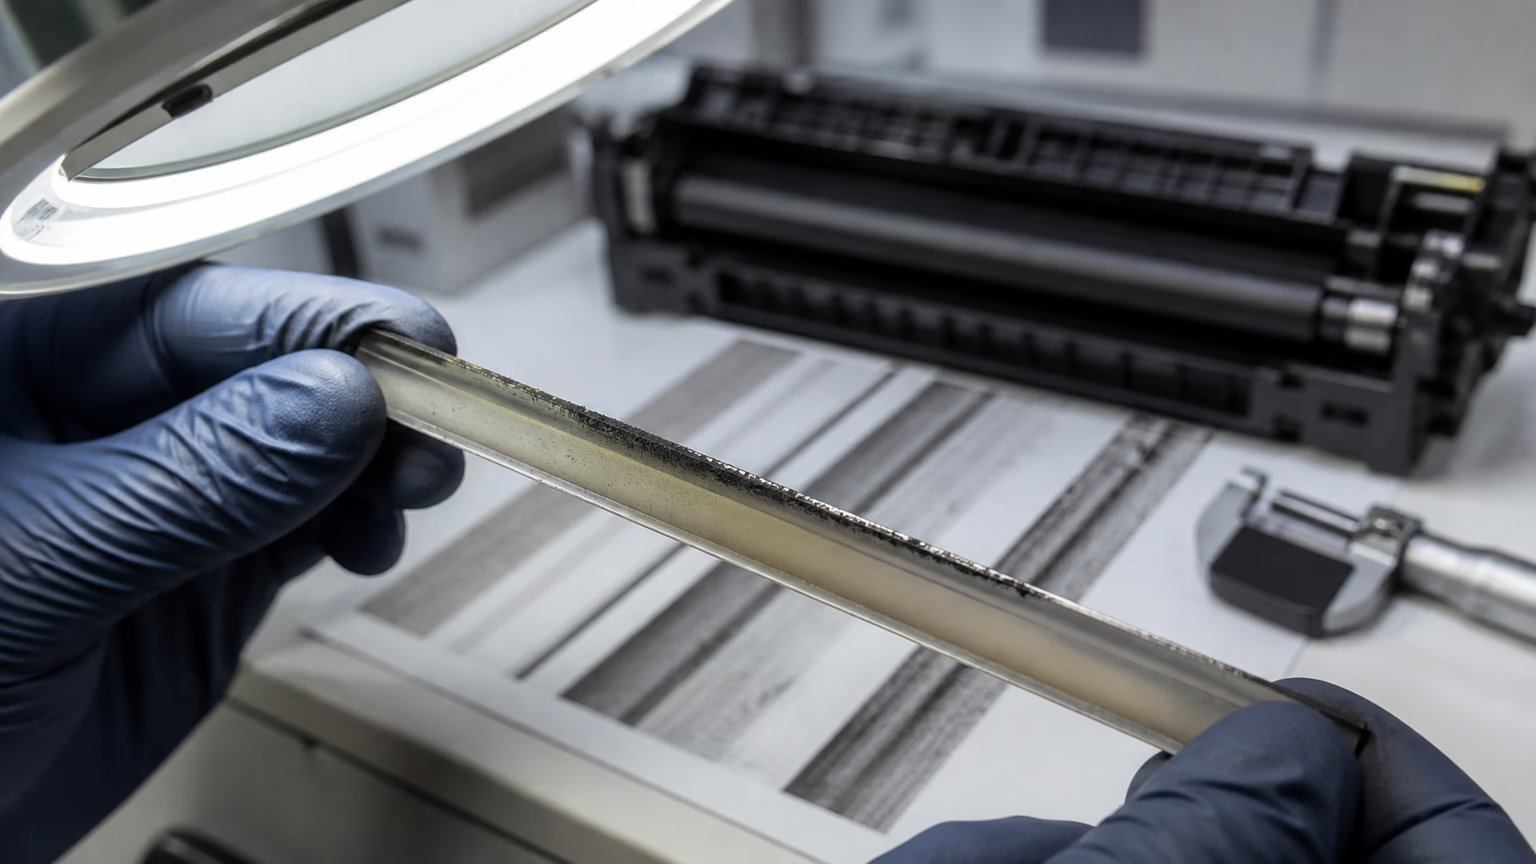
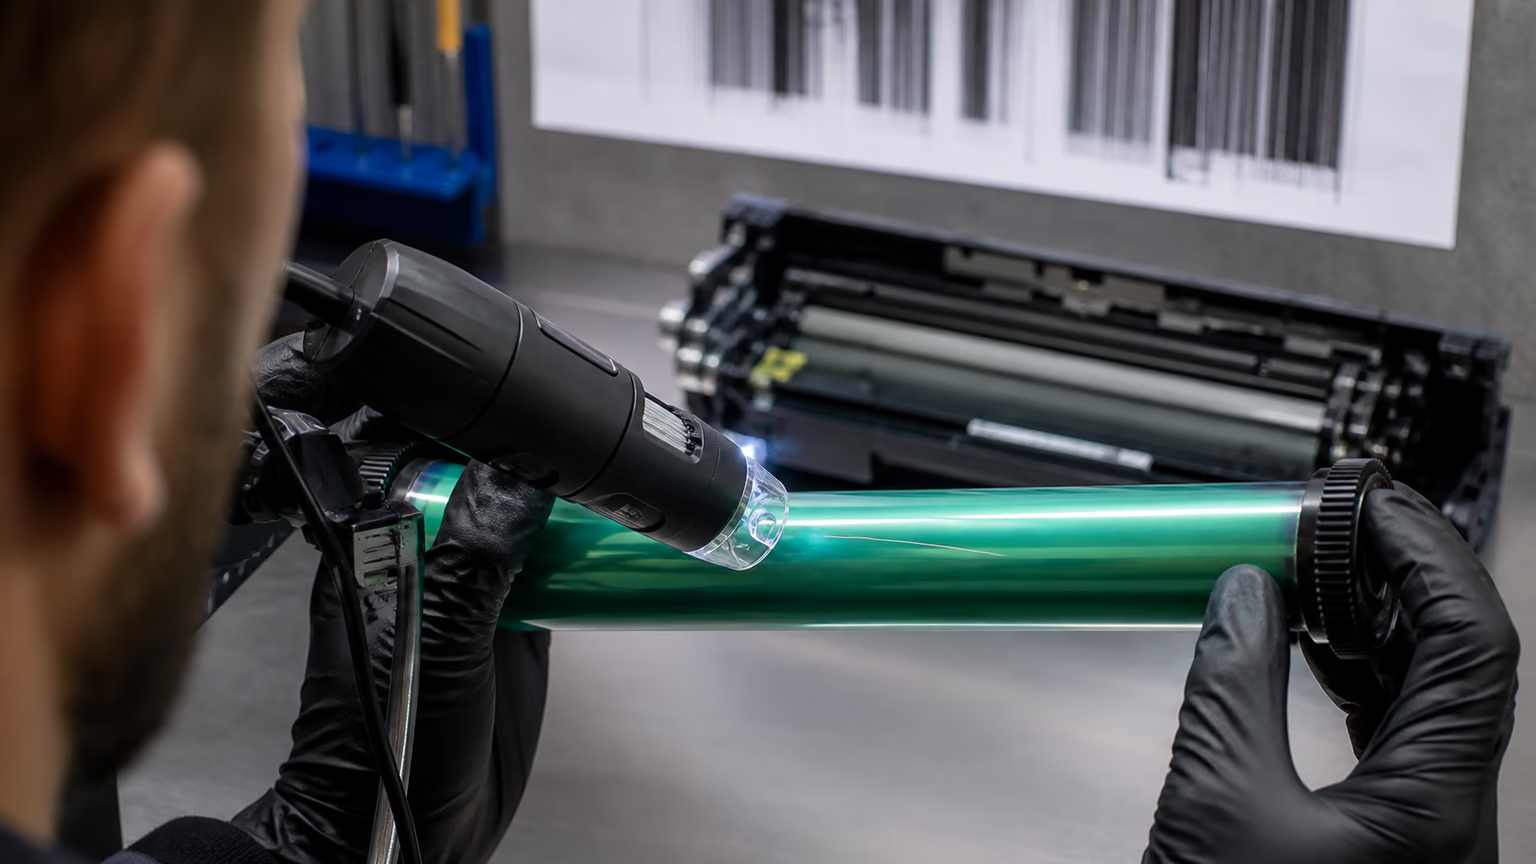
Because the drum turns many times per page, small marks on its surface show up as defects that repeat down the page. The distance between repeats equals the drum's circumference, which is a quick way to identify a drum problem. Our defect distance chart shows how service engineers use this.
Drum unit vs toner cartridge: separate and all-in-one designs
Printer makers package the drum in three ways. Knowing which design your printer uses tells you what to buy and when.
Drum unit vs toner cartridge: two designs
| Design | How it works | Typical examples | What you replace |
|---|---|---|---|
| All-in-one cartridge | Toner, drum, charge roller and cleaning blade are in one cartridge | Many HP and Canon desktop printers; Ricoh print cartridges | The whole cartridge each time toner runs out |
| Separate drum unit | Toner cartridge and drum unit are separate parts | Brother desktop printers; many Xerox, Konica Minolta, Sharp and Toshiba models | Toner often; the drum unit after several toner changes |
| Long-life drum | The drum is built to last much longer and sits in the printer | Kyocera ECOSYS printers | Toner only, for most of the printer's life |
Designs vary by model even within one brand. Check the supplies list in your printer manual.
All-in-one cartridges are simpler for users: every time you change toner you also get a fresh drum. Separate drum units lower the cost of each toner change because you are not throwing away a drum that still has life left. Long-life drums push this further, so the user mainly buys toner.
Signs your drum is worn
A worn drum rarely fails all at once. Print quality drops gradually, and some defects point clearly to the drum.
Signs your drum is worn or damaged
| What you see | Why the drum causes it | Next step |
|---|---|---|
| Marks that repeat at the same spacing | A scratch, dent or toner buildup on the drum leaves a mark once per turn | Measure the spacing; if it matches the drum, replace it |
| Light gray background over the page | The worn coating no longer holds charge evenly | Try a new drum or all-in-one cartridge |
| Faded or uneven print with a full toner cartridge | The drum is no longer picking up toner evenly | Check the drum counter; replace the drum |
| Thin vertical lines or streaks | Scratches along the drum or a worn cleaning blade | Inspect the drum under light |
| “Replace drum” or “drum end” message | The page or rotation counter reached its limit | Replace the drum and reset the counter if required |
To confirm, look at the drum under bright, angled light (briefly, and without touching the surface). Scratches, dull worn bands, a filmy layer or small pits all reduce print quality. If marks appeared right after a toner change, read about OPC drum damage after toner replacement, because the toner itself can be the cause.
How long does a drum last?
Drum life is rated in pages, but the rating assumes standard conditions, usually several pages per print job. Real life can be shorter or longer depending on:
- Job size. Printing one page at a time makes the drum rotate more per page during warm-up and cleaning, which shortens its life in pages.
- Toner quality. Toner with abrasive particles or the wrong charge scratches the coating or leaves film on it.
- Paper. Dusty or rough paper and labels wear the drum and the cleaning blade faster.
- Environment. High humidity, heat and direct sunlight near the printer all reduce drum life.
- Handling. Touching the surface or leaving the drum exposed to light during maintenance can damage it permanently.
Many printers track drum usage and warn as the drum approaches the end of its rated life. Some keep printing after the warning; others stop until the drum is replaced.
How to clean a printer drum safely
You can remove loose dirt from a drum, but cleaning cannot fix wear, scratches or a damaged coating. If a cleaning attempt does not improve the print, replace the drum.
- Switch the printer off and remove the drum or cartridge. Work in subdued light and put the drum back as soon as possible.
- Use a dry, lint-free cloth or a soft cotton swab. Wipe very lightly along the length of the drum, never around it with pressure.
- Do not use alcohol, water, cleaning sprays or paper towels. They can damage the coating or leave fibers.
- On drum units with a corona wire, slide the cleaning tab back and forth a few times and return it to its home position.
- Remove loose toner from the printer cavity with a toner-rated vacuum before reinstalling the drum.
How to replace a drum unit: general steps
The exact steps depend on the printer, but most drum replacements follow this sequence:
How to replace a drum unit: general steps
- Check the code. Find the drum unit code in the printer menu, manual or on the old drum. Toner and drum codes are different.
- Switch off and open. Turn the printer off and open the front cover. Let the fuser area cool if you need to reach near it.
- Remove the old drum. Pull out the toner and drum assembly, then separate the toner cartridge from the old drum unit.
- Unpack the new drum. Remove packing material and protective sheets. Do not touch the drum surface or expose it to bright light.
- Fit the toner and reinstall. Click the toner cartridge into the new drum unit and slide the assembly back into the printer.
- Reset the counter. Many printers ask whether a new drum was installed or need a menu reset. Then print a test page.
Keep the new drum in its light-proof bag until you install it, and avoid touching the green or blue surface. Fingerprints leave oil that attracts toner and causes spots. If the printer keeps reporting a drum error after replacement, the counter usually needs a reset from the control panel.
Drum or toner: which one is causing the problem?
On printers with separate drum units, people often replace the wrong part. A simple rule helps: faded or patchy print that improves when you gently rock the toner cartridge usually points to low toner, while repeating marks, gray background and drum messages point to the drum. On all-in-one cartridges, a new cartridge replaces both, so the question does not arise. If the defect remains after you replace both toner and drum, look at the fuser and transfer roller instead; our guide to separating cartridge defects from printer problems explains the tests.
Buying drums and cartridges
When you buy a drum unit, match the exact drum code for your printer, not just the brand, and buy toner made for the same engine. Toner that does not match the drum is one of the main causes of early drum wear. You can find compatible cartridges and drum units for Canon, Xerox, Ricoh, Kyocera, Konica Minolta, Sharp and Toshiba printers in the UNICO catalog. For dealer and fleet volumes, see our wholesale toner supply page.
FAQ
Do I need to replace the drum when I replace toner?
Only if your printer uses all-in-one cartridges, where the drum is inside the toner cartridge and is replaced automatically. On printers with a separate drum unit, the drum usually lasts through several toner cartridges. Replace it when print quality drops or the printer reports the end of drum life.
How many pages does a drum unit last?
It depends on the printer. Separate drum units for desktop printers are often rated for roughly ten thousand to several tens of thousands of pages, while copier drums and long-life drums last much longer. The rated life is usually measured under standard conditions; printing one or two pages at a time shortens it. Check the rating for your exact drum code.
Can I clean a printer drum?
You can remove loose toner and paper dust gently, but you cannot repair a worn or scratched coating. Use a dry, lint-free cloth or a cotton swab with very light pressure, never solvents or paper towels, and keep the drum out of bright light. Many printers also have a cleaning function, such as a corona wire slider on Brother drum units.
Why does my printer say replace drum?
The printer counts pages or drum rotations and warns when the drum reaches its rated life. The message can appear while prints still look good. If quality is fine you can usually keep printing for a while, but plan the replacement. If the message stays after you install a new drum, reset the drum counter as described in the printer manual.
What is an imaging drum?
Imaging drum is another name for the OPC (organic photoconductor) drum. Some brands also call it a photoconductor unit, an imaging unit or a drum cartridge. In color printers there is usually one drum per color.