The Real Cost of OPC Drum Failure for B2B Distributors and Service Providers
When a field technician replaces a toner cartridge and shortly afterward the customer reports streaks, ghosting, or a dead drum, the immediate part cost is only the beginning.
For distributors and managed print service providers, OPC drum damage after toner replacement triggers a chain of hidden expenses: repeat service visits, emergency part orders, credit claims against the toner batch, and often a damaged customer relationship.
Without a systematic way to identify the root cause, teams waste hours debating whether the fault lies with the toner, the drum, or user handling.
This guide treats OPC drum damage as a diagnostic and procurement problem, not a random compatibility issue.
It outlines how replacement toner can physically, chemically, or electrically harm the drum, how to distinguish toner-induced failure from normal wear, and what checks to implement before purchasing or installing a new toner batch.
The goal is to reduce repeat failures, protect service margins, and create a defensible evidence trail when a supplier claim is needed.
- Unplanned service calls and emergency drum replacements inflate operating costs.
- Without root cause data, credit claims and supplier negotiations become subjective.
- Consistent diagnostic procedures shorten downtime and build customer confidence.
How the OPC Drum Works and Why It Is Vulnerable to Toner
The organic photoconductor drum is a precision imaging component with a photosensitive coating that must hold and release electrostatic charge in exact patterns.
During each print cycle, the drum receives a uniform charge, a laser or LED discharges the image areas, and toner particles are attracted to those discharged areas.
The developed image is then transferred to paper and the drum is cleaned for the next cycle.
This cycle repeats thousands of times, and any deviation in toner properties can accelerate surface degradation.
The drum coating is thin and relatively soft compared with metal or ceramic surfaces.
It is designed to work with a narrow range of toner particle sizes, charge control agents, and cleaning additives.
When aftermarket or remanufactured toner falls outside these tolerances, the drum becomes vulnerable to three main failure modes: abrasive wear from hard particles, chemical degradation from incompatible additives, and electrostatic stress from incorrect toner charge.
Understanding these vulnerabilities is the first step in evaluating whether a replacement toner cartridge is safe for a given printer model.
Real Causes: How Replacement Toner Can Damage the OPC Drum
Replacement toner does not damage the drum by simply being a different brand. The damage occurs when one or more physical, chemical, or electrical properties diverge significantly from the original equipment design. The most common mechanisms are:
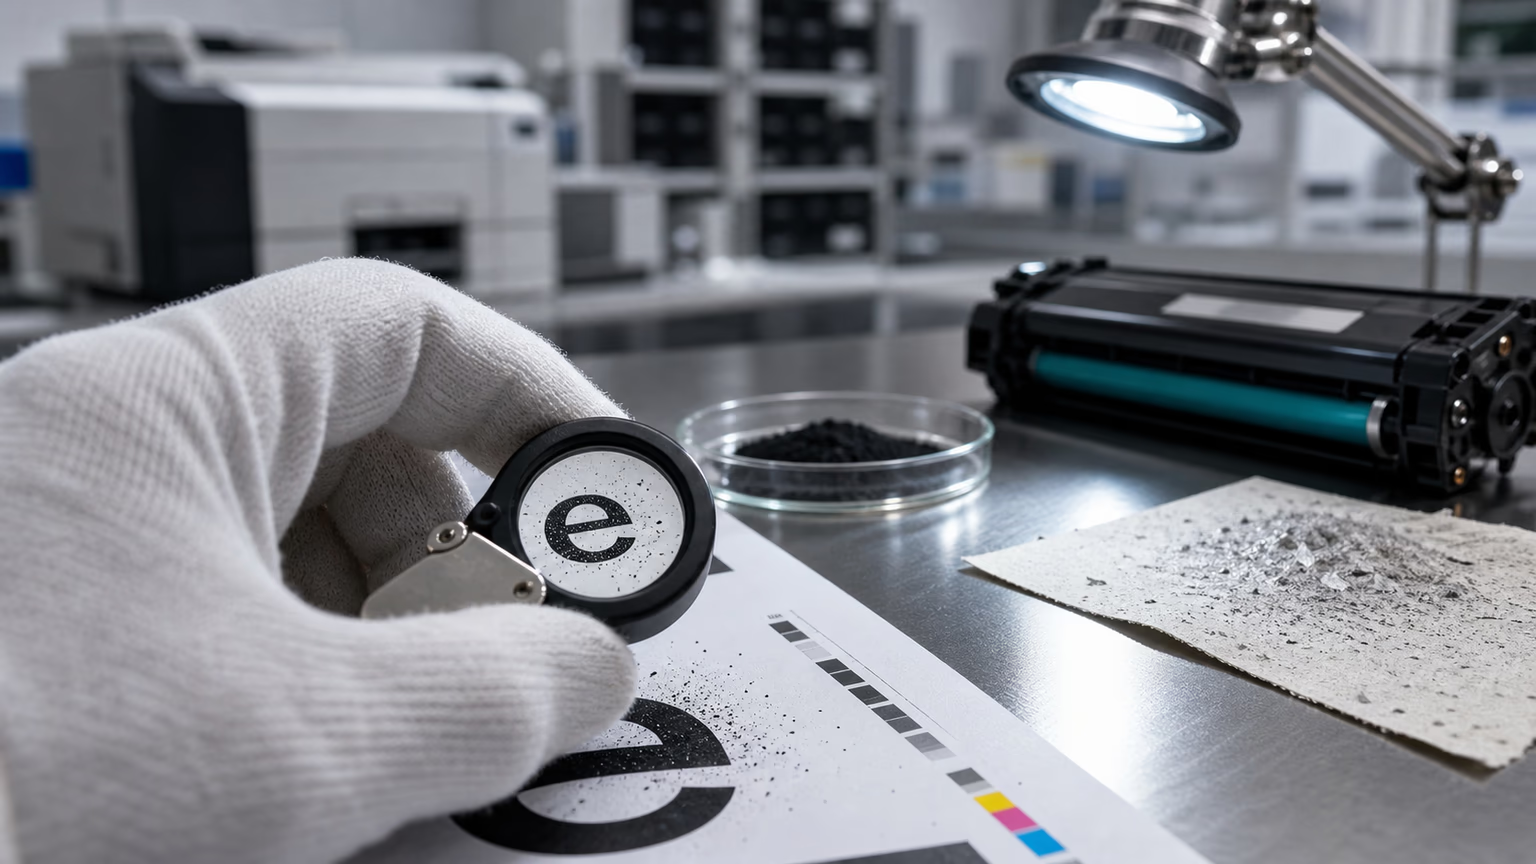
- Physical abrasion: Oversized or irregular toner particles act like micro-sandpaper during development and cleaning, scratching the drum surface and creating visible wear lines.
- Chemical degradation: Some low-cost toner formulations use waxes, charge control agents, or residual solvents that can soften, etch, or contaminate the organic photoconductor layer.
- Electrostatic stress: If the toner has an incorrect triboelectric charge, it can cause excessive filming on the drum, developer carry-out, or voltage spikes that stress the drum coating.
- Interaction with pre-existing wear: A drum that was already near end-of-life may show only moderate symptoms with old toner, but a new toner with higher transfer efficiency can reveal weak spots as sudden print defects.
In field practice, a combination of these factors often appears. For example, a toner with slightly larger particles and a higher charge may initially work, but after a few thousand pages the drum accumulates fine scratches and background. That is why a single print test is not enough; the damage is cumulative and may take days to become visible.
Distinguishing Toner-Caused Damage from Normal Wear and Mechanical Issues
One of the most frequent misdiagnoses in printer service is attributing toner-caused drum damage to normal drum aging or mechanical failure. Normal end-of-life wear on an OPC drum typically presents as uniform, gradual loss of sensitivity: prints become lighter, background fog appears evenly, and the drum surface shows a smooth, worn look. There is no sudden vertical streak or localized scratch.
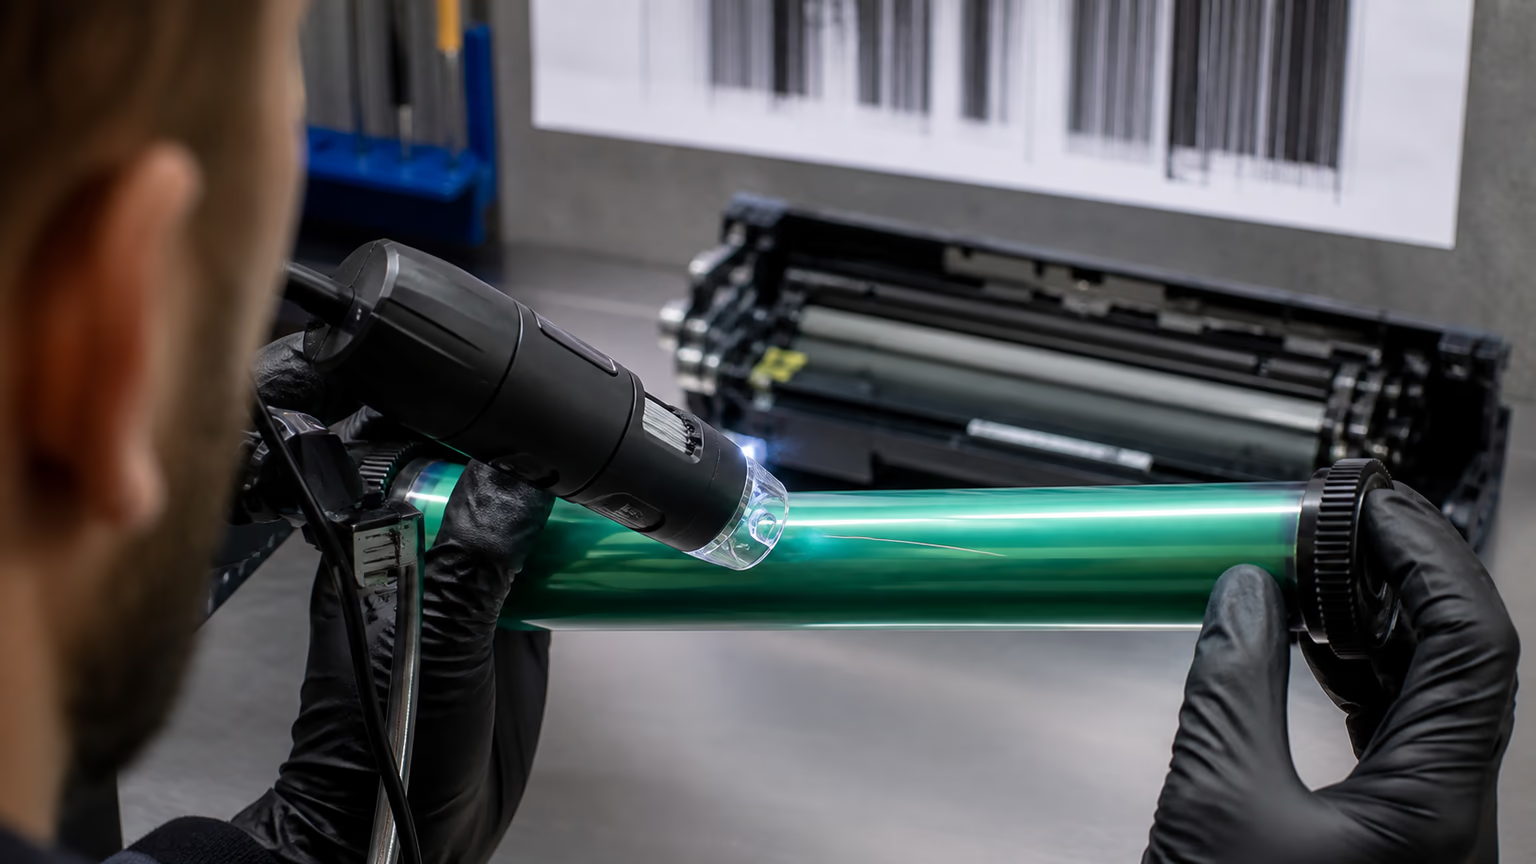
In contrast, toner-caused damage usually appears shortly after a toner replacement and shows sharp, repeating defects such as vertical lines that match the drum circumference, patchy coating removal, or a visible film on the drum surface.
Mechanical damage from the charge roller or cleaning blade tends to leave its own distinct patterns, such as a single wide band or chatter marks at the blade edge.
When in doubt, the fastest confirmation is to test the same drum with a known-good toner cartridge from a different batch or an OEM unit.
If the defects disappear, the original replacement toner is the likely cause.
Procurement and Supplier Evaluation: Selecting Toner That Protects the Drum
For B2B buyers, the decision to purchase compatible or remanufactured toner should not be based on price alone. A toner that seems cost-effective on paper can become expensive if it shortens OPC drum life or triggers service calls. Before committing to a supplier, request technical documentation that shows control over the properties most critical to drum safety.
- Particle size distribution: The supplier should provide data showing that the toner particle diameters fall within the range expected for the specific printer engine.
- Charge-to-mass ratio: An incorrect triboelectric charge can cause filming or developer contamination; ask for evidence of charge stability.
- Melting point and fusing compatibility: Toner that fuses at the wrong temperature may stick to the drum or fail to transfer cleanly.
- Drum compatibility testing: Look for suppliers who have actually tested their cartridges in the target printer models, not just performed a fit check.
- Batch traceability: Every cartridge should carry a lot number and production date so that a defective batch can be isolated quickly.
A supplier that offers clear technical support, a defined return and credit process for confirmed defective batches, and material safety data is far less likely to cause drum failures than one that cannot answer basic questions about toner formulation.
Handling and Installation Best Practices to Prevent Drum Damage
Even a high-quality toner can damage a drum if the installation process introduces contamination or mechanical stress. Service technicians and end users should follow a short set of handling rules that reduce the risk of toner-related drum problems.
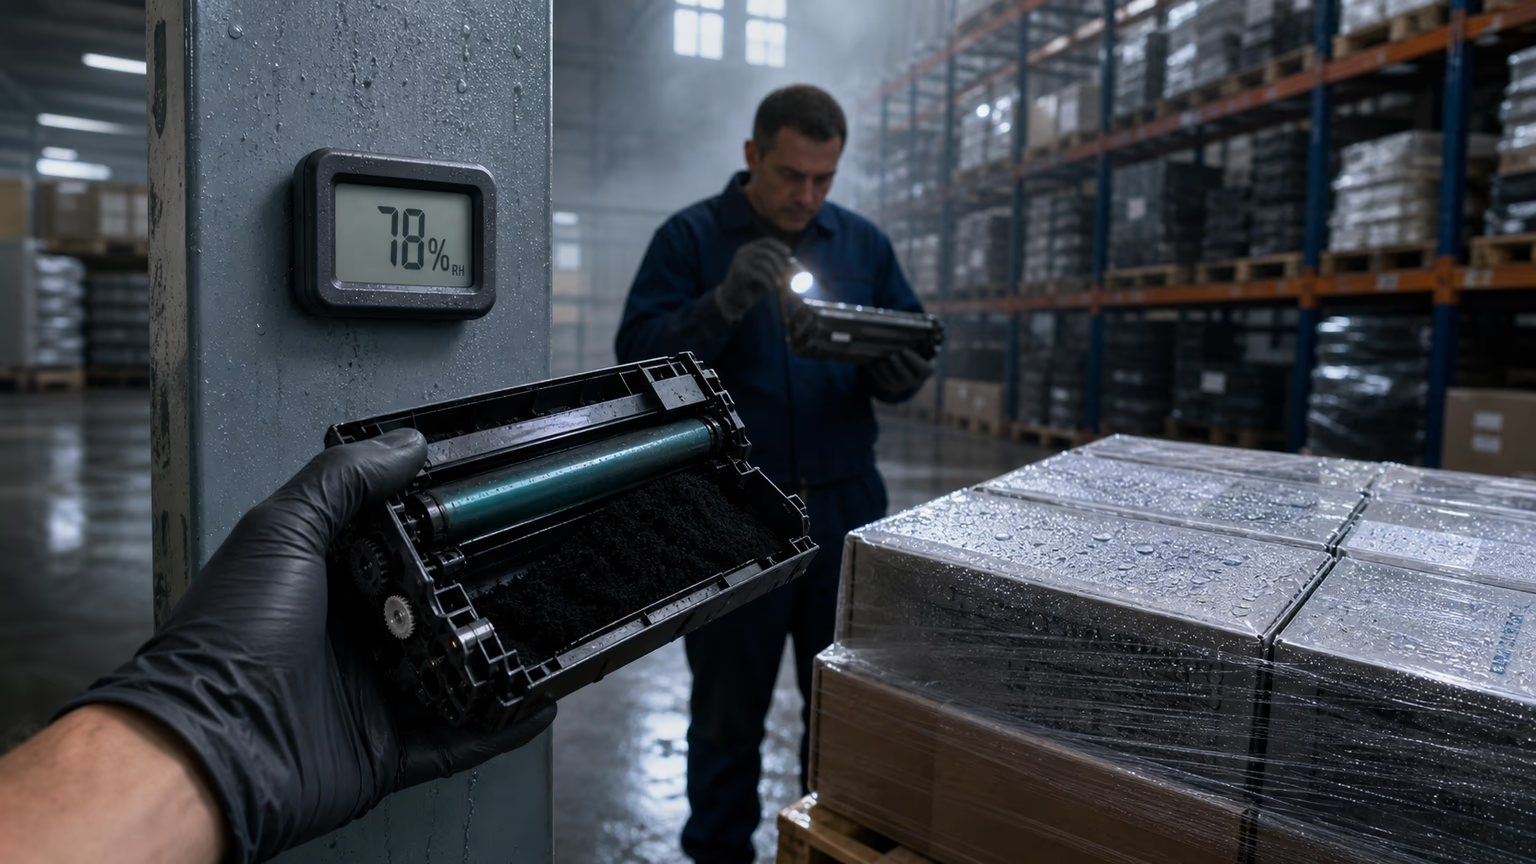
- Store toner cartridges in a cool, dry place within the recommended temperature range to prevent toner clumping or moisture absorption.
- Never touch the OPC drum surface with bare hands. Oils and skin cells attract toner and can cause filming or permanent spots.
- Gently shake the toner cartridge as specified by the manufacturer to ensure even toner distribution before installation, but avoid vigorous shaking that could create airborne dust.
- Do not expose the drum to direct sunlight or strong light for an extended period during replacement, as this can discharge the photosensitive layer and cause print defects.
- Before installing a new toner, remove all residual toner from the developer unit and ensure no mixing of different toner brands occurs.
Field Diagnostic Checklist: Step-by-Step When Drum Damage Is Suspected
When a customer reports print quality issues after a toner replacement, service technicians need a consistent, evidence-based checklist to identify the root cause and protect the company from unnecessary drum swaps or supplier disputes. The following steps should be performed in order:
- Record baselines: Note the printer model, drum page count, toner brand and lot number, and date of replacement.
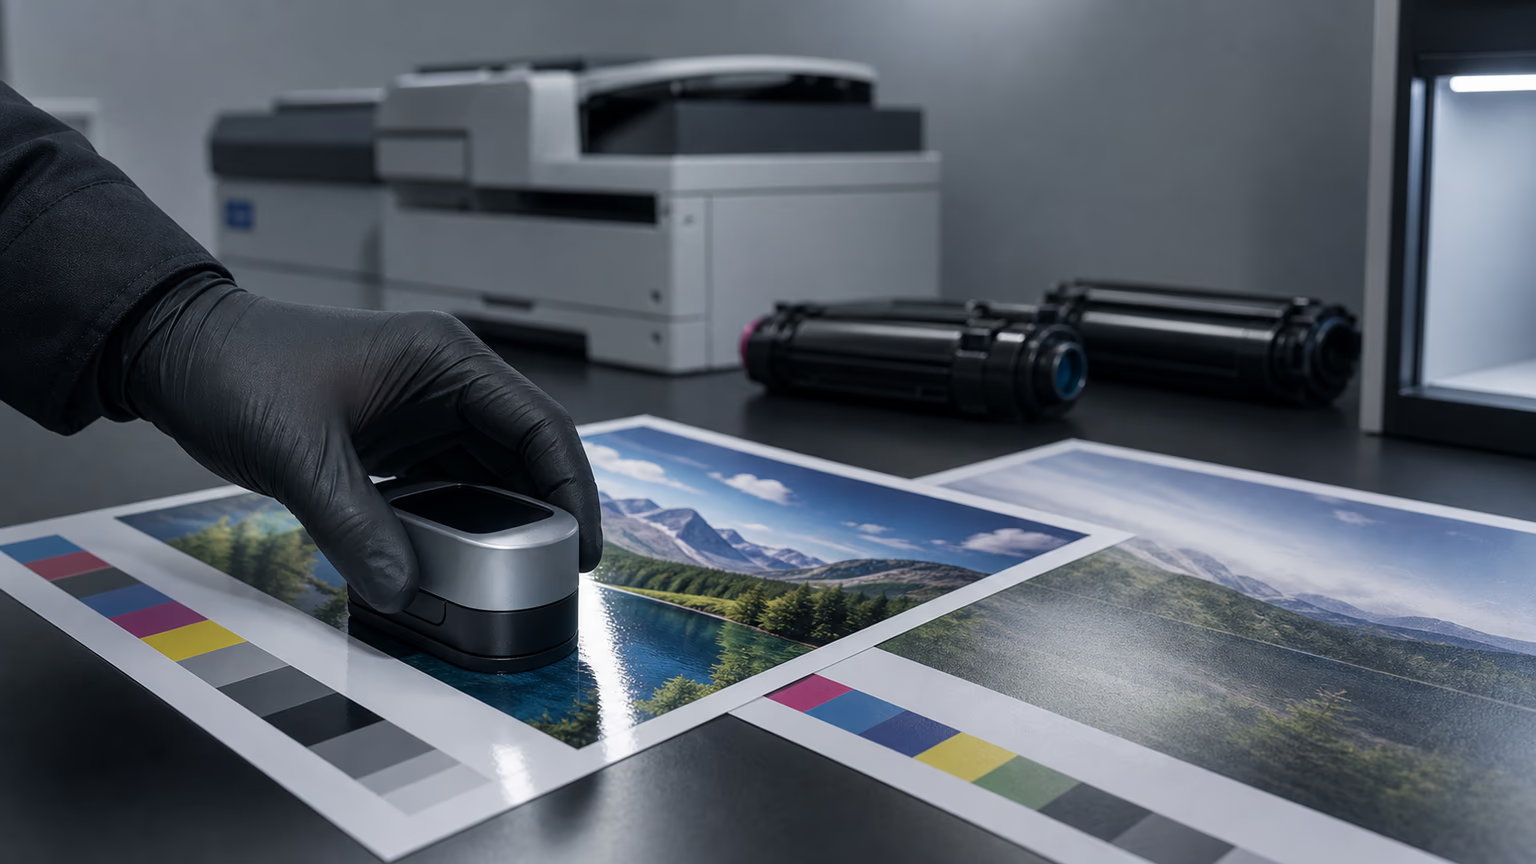
- Print a diagnostic page: Use full-page solid fill and halftone patterns to expose streaks, ghosting, or background.
- Inspect the drum: Remove the drum unit and examine the surface under bright, angled light. Look for scratches, pits, filming, discoloration, or toner accumulation.
- Check the charge roller and cleaning blade: Toner buildup or physical damage on these components can mimic toner-caused drum problems.
- Test with a known-good toner: If possible, install a new, known-good toner from a different batch or an OEM unit into the same drum. A clear change in symptoms implicates the suspect toner.
- Document everything: Photograph the defect pattern, record the drum surface condition, and save the printed sample. This evidence supports supplier claims and internal quality tracking.
Following this checklist turns a subjective complaint into a structured root cause analysis. It also gives your team the data needed to push back on a supplier or to identify a training gap in your own installation procedures.
Building a Quality Feedback Loop with Your Toner Supplier
Preventing repeat drum failures requires more than a one-time fix. Distributors and service providers should establish a formal feedback loop with their toner supplier that turns field data into corrective action. Start by creating a standardized defect report form that captures printer model, drum condition, toner lot number, defect images, and the outcome of the known-good test.
Set clear expectations with the supplier for root cause analysis when a toner-related drum failure is confirmed.
Ask for a written response that identifies the likely mechanism and the corrective action taken at the production level.
Use this data to adjust your incoming inspection criteria: if a supplier shows repeated particle size or charge issues, tighten your acceptance thresholds or consider alternative sources.
Finally, share preventive maintenance guidelines with end users so that drum life is extended and toner-related failures are less likely to occur.
FAQ
What are the first signs that a newly installed toner has damaged the OPC drum?
The earliest signs include sudden vertical streaks on prints, repeating defects that match the drum circumference, ghosting or background fog, and visible scratches or filming on the drum surface when inspected under light. These symptoms typically appear within the first few hundred pages after installation.
Can using compatible or remanufactured toner cartridges void the printer or drum warranty?
In many markets, using aftermarket toner does not automatically void the printer warranty, but damage caused by the toner may not be covered by the printer manufacturer. B2B buyers should review their service agreements and verify with the toner supplier whether they accept liability for drum damage caused by their product. A clear supplier return and credit policy is essential.
How do I distinguish between toner-caused drum damage and normal end-of-life wear?
Normal drum wear appears as a gradual loss of print density and uniform background, often after reaching or exceeding the rated page count. Toner-caused damage appears suddenly after a toner replacement, shows localized scratches, streaks, or filming, and may be reproducible with the suspect toner but not with a known-good cartridge.
What toner properties should I check with a supplier to prevent OPC drum damage?
Request technical data on particle size distribution, triboelectric charge, melting point, and additive composition. Ask for evidence of drum compatibility testing in the specific printer models you service. Suppliers that cannot provide this data or lack batch traceability pose a higher risk of drum damage.
How can I prevent toner from damaging the OPC drum during installation?
Follow proper handling procedures: store toner correctly, avoid touching the drum surface, shake the toner gently before installation, keep the drum away from light, and ensure no mixing of residual toner from different brands. Training technicians on these steps reduces the number of toner-related drum failures.
Conclusion
OPC drum damage after toner replacement is not an unavoidable cost of doing business in the printer aftermarket.
By understanding the failure mechanisms, implementing a field diagnostic checklist, and selecting toner suppliers based on technical compatibility rather than price alone, distributors and service providers can significantly reduce repeat failures and protect their margins.
The key is to treat every drum failure as a data point: record the evidence, isolate the variable, and feed the findings back to your supplier.
With a systematic approach, you turn a recurring complaint into an opportunity to improve quality and build stronger customer relationships.